
Adobe’s PaintCan: A Nifty Addition to Beginner Paint Apps
We are delighted to publish Jerry Jobe’s latest mobile photography/art tutorial for our reading and viewing pleasure. This time Jobe takes a look at the app Adobe’s PaintCan app. Read his thoughts as he puts it through its paces (foreword by Joanne Carter). Take it away Jerry…
PaintCan is free and you can download it here
“Painting apps can take several different forms. There are the auto-painting apps, that apply the brush to the canvas in a specific, software-driven way. Glaze, Brushstroke and the AutoPainter series are among the auto-painting apps I’ve covered. There are those that allow you to “trace” photos, but the user completely controls the brush strokes and they can even paint completely from scratch. Procreate, ArtRage, Sketch Club, and the Brush menu in iColorama fall into this user-intensive group.
There’s a third group of painting apps which I’d call “software-assisted”. These apps do not allow for painting from scratch like user-intensive apps, but require users to touch the screen and make strokes (unlike the fully automatic apps). Mobile Monet, Photo Viva, Foolproof and today’s app, PaintCan, fall into this third category. These software-assisted apps fall into that middle ground between fully user-controlled and fully automatic. They give you more control over the result than a fully-automatic app, which can help your “eye”: the decisions you make about form and details. At the same time, they help with the brush strokes so that you aren’t immediately frustrated with lack of drawing skills.
PaintCan is an Adobe app. To me, that means it’s pretty solid, and has a team of developers that will back it up as long as the company maintains interest in it. Of course, the flip side is that you don’t have a single developer with the passion to keep it going, either”.

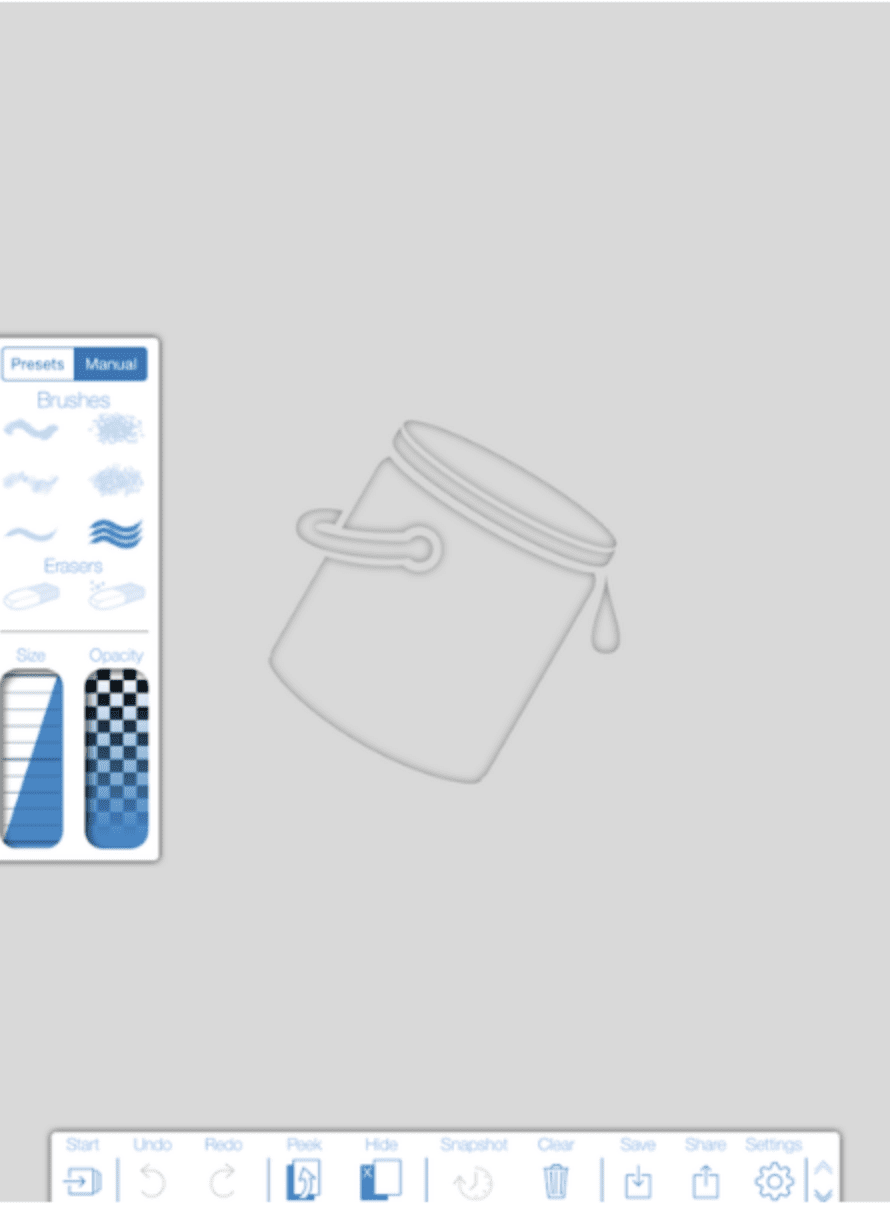
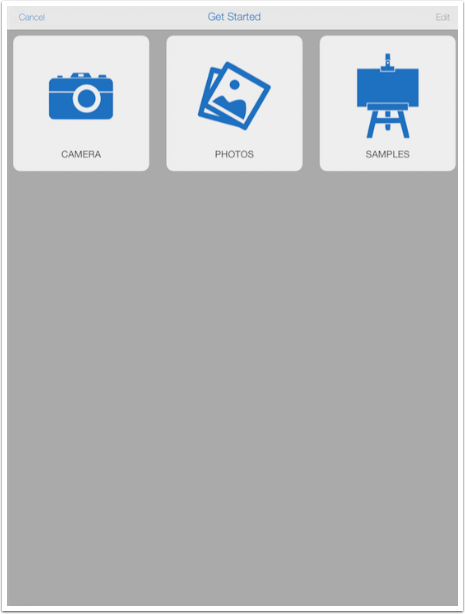
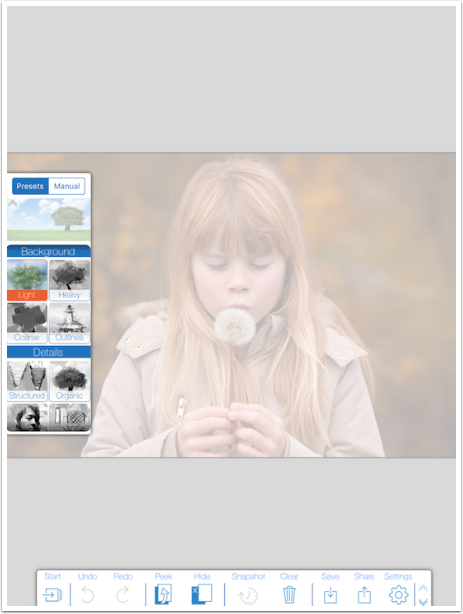
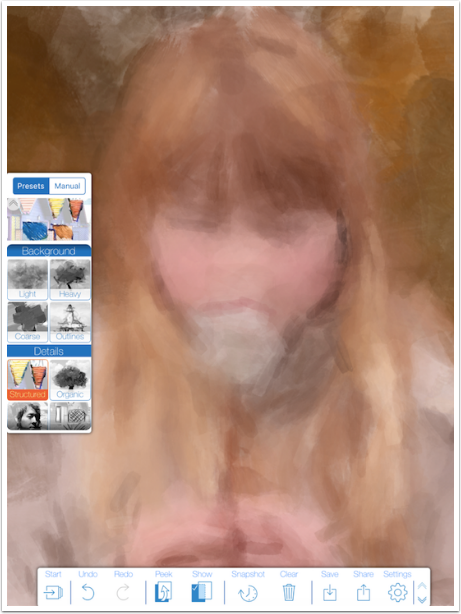
PaintCan is a fairly simple app to operate. There are some differences between the iPhone and iPad versions, even though it’s a universal app. I’ll start by showing the iPad version. As seen above, you have a toolbar on the bottom and a brush menu at the left. (Moving the brush menu and hiding the toolbar will be shown later.) Tapping the Start button on the toolbar will determine the source of the photo that you will paint. The available sources are Camera, your libraries and “Samples” which gives you some images to play around with.
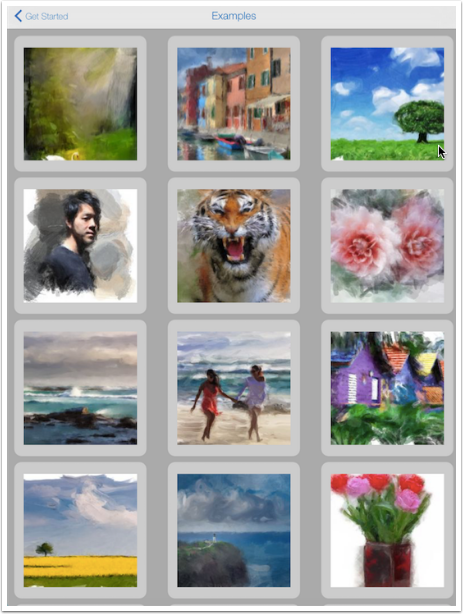
If you choose Samples, you are given several very nice images to start with. Scroll down to see more.
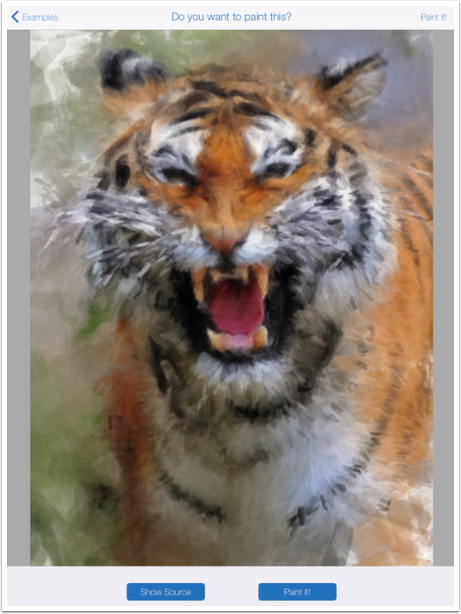
The images have already had paint “applied”, just as an illustration of what you can do. You can see the original photo by tapping Show Source at the bottom. If you choose to Paint It, the photo will be loaded with an overlaying blank canvas, so that you will be starting from scratch.
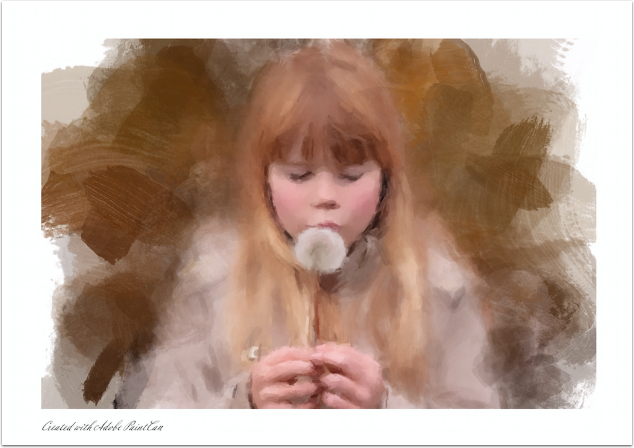
I will not be using one of their samples today. Instead, I found a lovely image of a young girl and a dandelion on Pixabay that allows me to use it for this kind of tutorial.
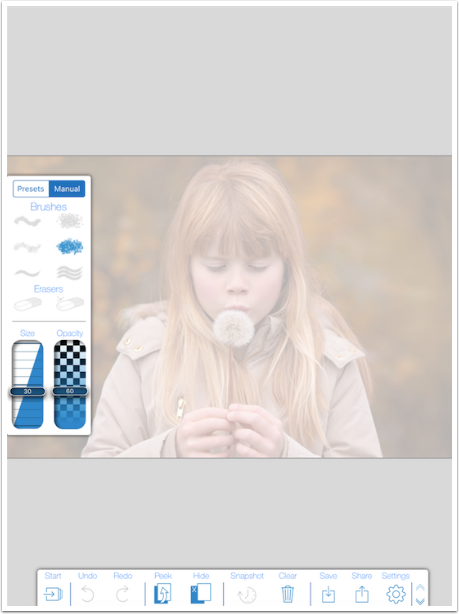
If I like, I can change the brush menu to the manual settings and choose the brush, size and opacity. I prefer to work with the presets, however.
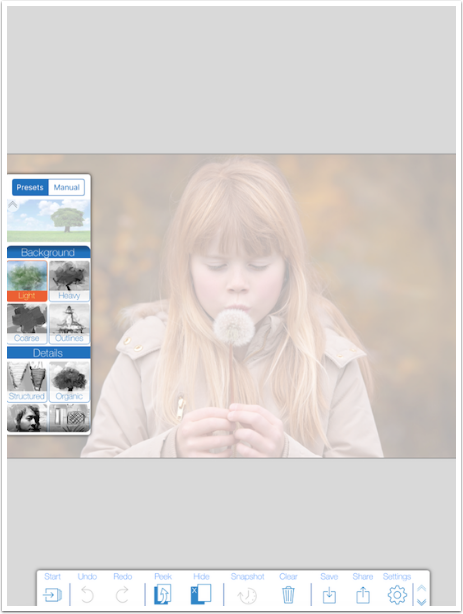
You can see below that the Presets menu starts at the top with an animated representation of the chosen preset. Then the presets are grouped into three categories: Background, Details and Extras.
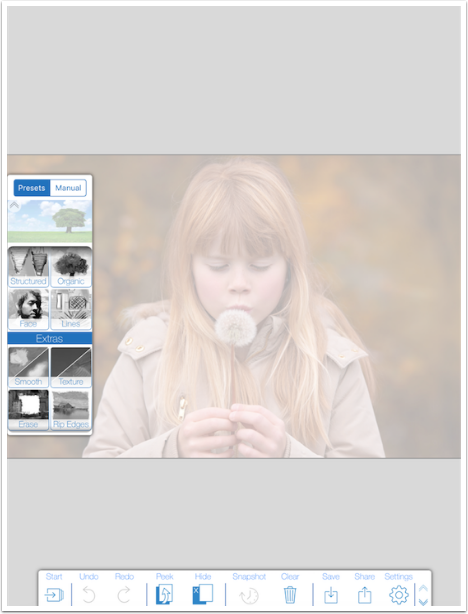
Extras are reached by scrolling down in the brush menu.
I’m going to start with the Light Background preset. I make one swipe on the canvas, and you can see that PaintCan makes many, many strokes that follow the contours of the underlying image.
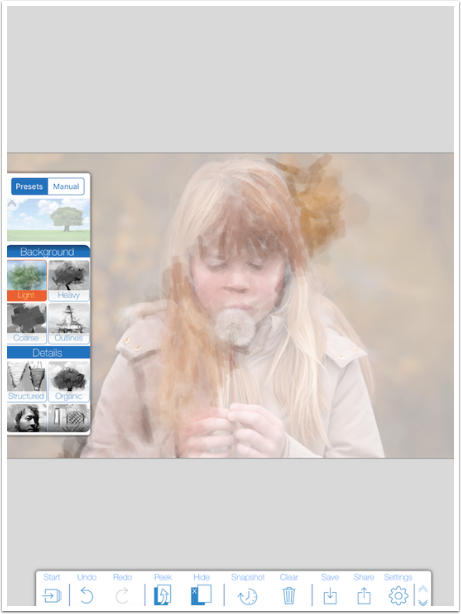
It can be unclear what your painting looks like, since you can see the photo underneath. That’s where the Peek and Hide buttons come in. Peek allows you to see the photo at 100%, temporarily hiding your painting. Hide hides the photo entirely, allowing you to see only the painting. When you tap Hide, the label changes to Show (show the photo). I will continue with the photo hidden, to give you a better idea of what the different presets do.
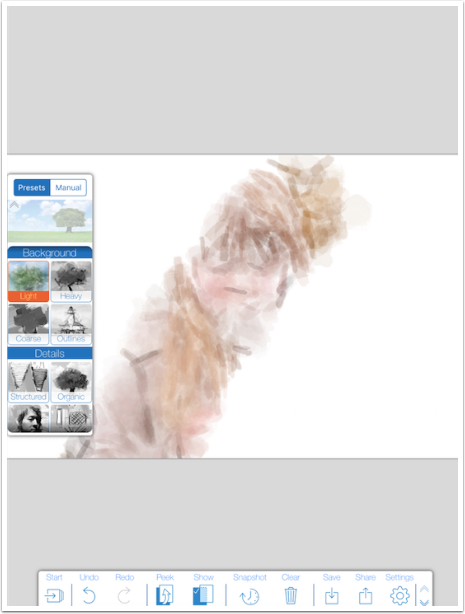
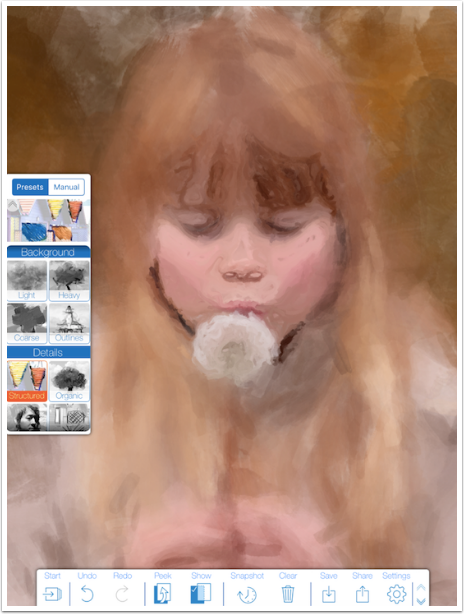
The next preset is Heavy. The opacity of the paint is raised, and there are more strokes.
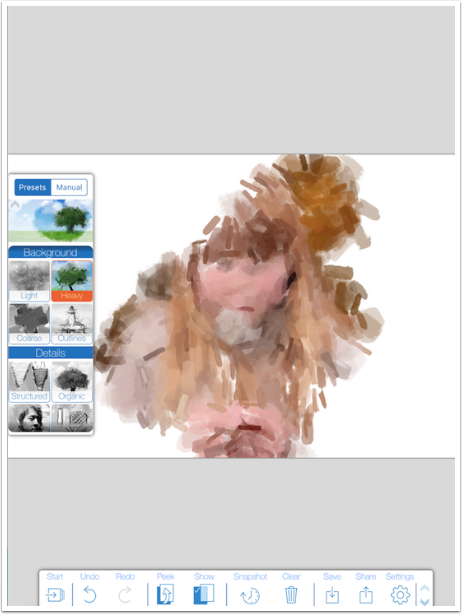
The third background preset is Coarse, with fewer, larger strokes being made as you swipe the screen.
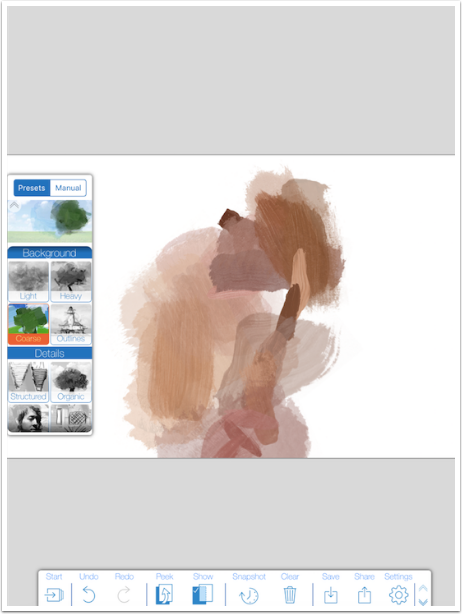
The last background preset is Outlines, with curved strokes that follow the contours of the image. Here I did not do a single swipe – it was more of a scrubbing motion. As you go over and over the same area without lifting your stylus/finger, the contours are followed more closely, and the image becomes clearer. This is another of the decisions you are making as you paint – do you dab and get an impression of this area of your painting, or “scrub” and see a more accurate representation?

For the background of my portrait, I decided to go with a quick couple of swipes with the Coarse preset, followed by some scrubbing with the Light preset over the girl.

As I move on to the Details presets and tap the first, Structured, the image zooms in automatically. The brush size is affected by zooming in. When you zoom in, the brush size becomes smaller in relation to the entire canvas. This smaller brush, of course, is necessary to do detail work. However, you can still get fine details using the Background presets, if you zoom in close enough.
Below you’ll see a representation of the Structured preset. Once again, I did a fair bit of scrubbing, and each swipe changed the result. Knowing when to lift your stylus/finger becomes important.
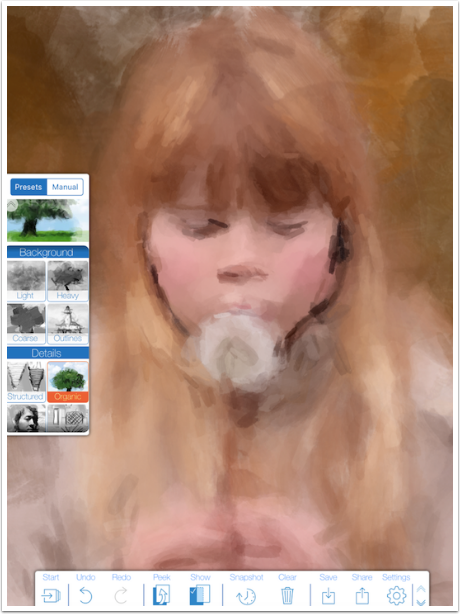
Next is the Organic preset, which has more flow to it.
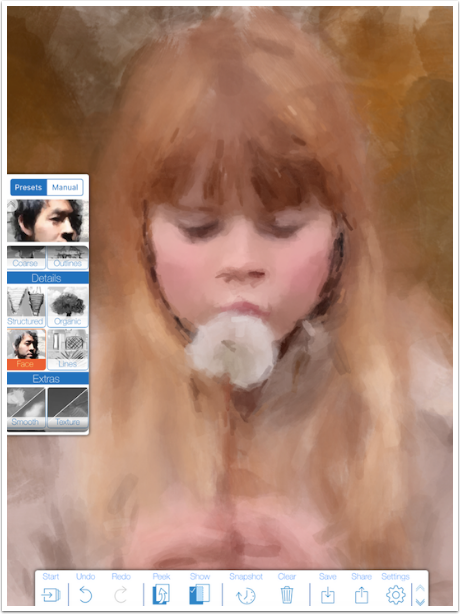
The Face preset really brings out some fine details of the underlying photo.
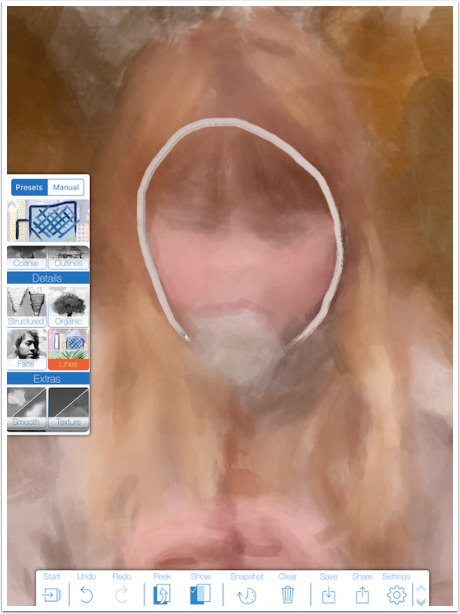
Lines is an interesting preset. It does not assist you in making your stroke at all. It picks of the color where you start your stroke and follows your stylus/finger precisely. Below I started in a white area and made a clockwise circle outlining her face.
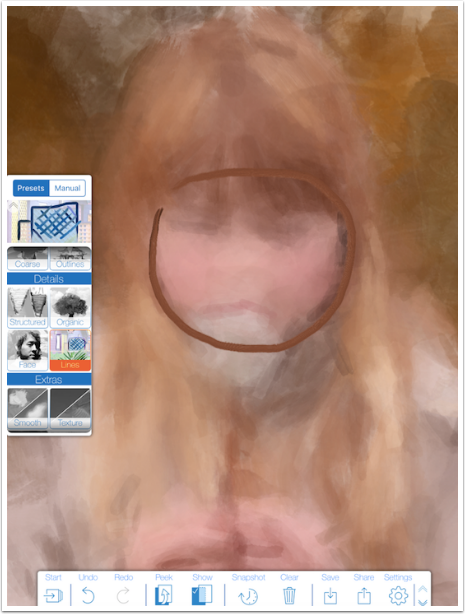
In the next screenshot I made a counter-clockwise circle from a shadow area.
I decided on the Face preset around the girl’s face and hands and the flower.
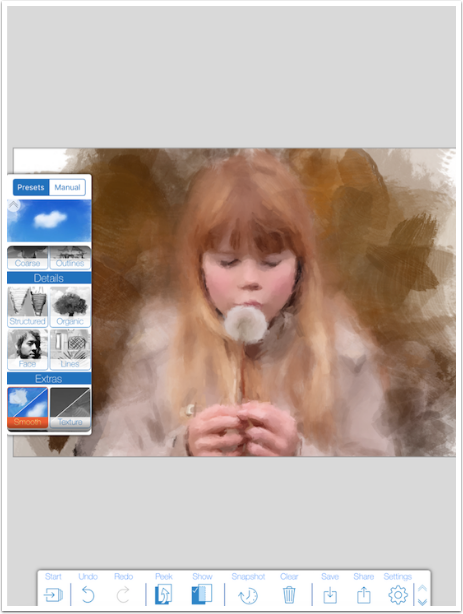
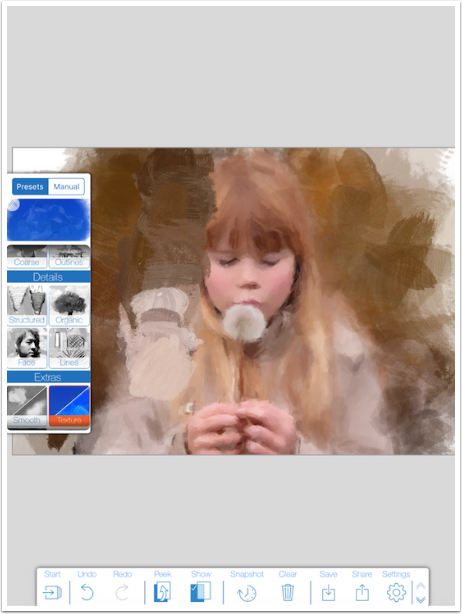
The Extras presets do not add strokes to your painting, but affect the strokes already made. Below I used the Smooth preset on the coarse right side of the background.
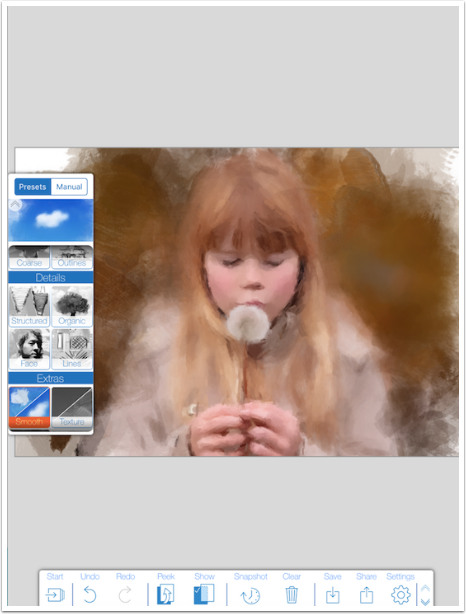
The Texture preset roughs up the strokes and makes them coarser. Below I used Texture to the left of the girl.
Erase does just what you’d expect: it erases the paint right down to the canvas.
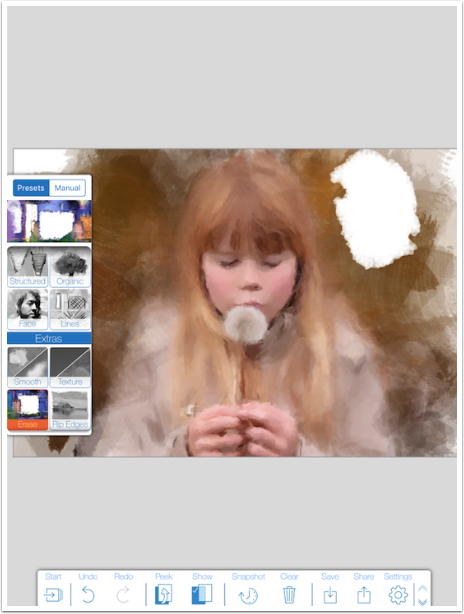
Rip Edges is a modification of Erase. It also takes the paint off, but with a different brush tip. I used it all along the top and part of the bottom in the screenshot below.
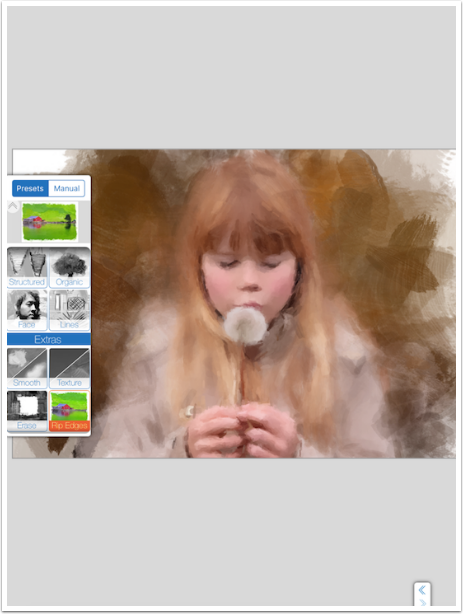
At any time I can hide the toolbar by tapping the arrows on the right side of the toolbar twice. Tap the arrows again to restore it.
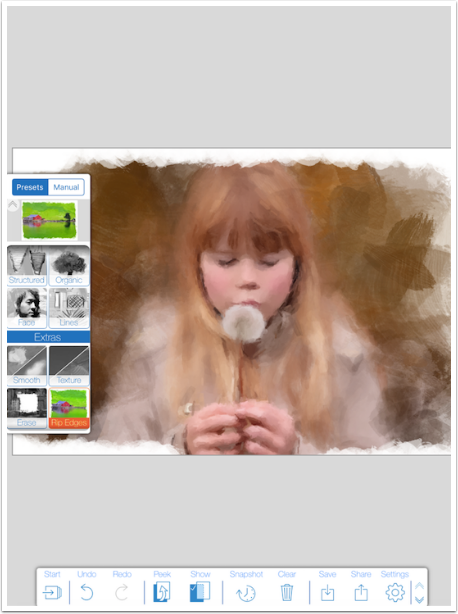
Below you can see the Settings for the app, accessed by tapping the Gear in the toolbar. (Note: I call the bottom bar the toolbar. Adobe calls the brush menu the toolbar. I think my terminology is more accurate.) The settings can control the Auto-Zoom and whether the brush menu is on the left or right. It also, by default, adds a white frame around the painting when it is saved with the words “Created with Adobe Paint Can”. The frame can be turned off.

Here’s the painting with the frame and caption.
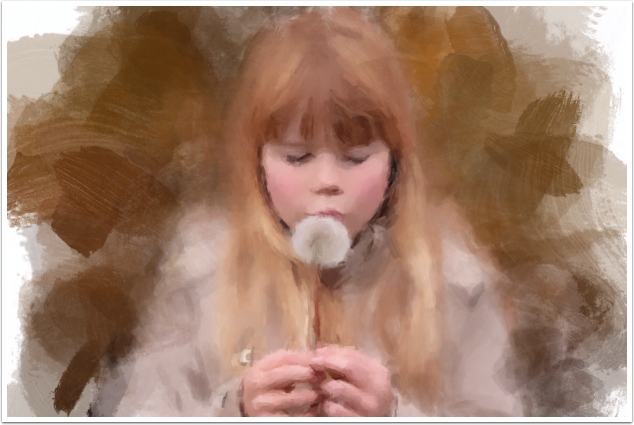
And here it is without. This is more my style, and it makes it much easier to blend back with the original if I wish to do that.
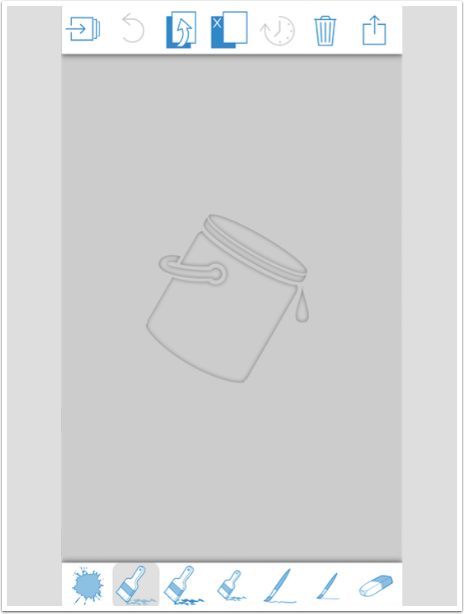
The iPhone version is significantly different that the iPad version. There is no Manual setting of brushes, and the presets are limited to a few. The only Extras preset available is Erase. All the options are right there on the screen. In the screenshot below, I want you to notice the Clock button at the top. That is a Snapshot button, which allows you to save partially completed paintings for later work. (It’s also available on the iPad version, but I didn’t point it out.)
When you create a Snapshot, they appear in your potential Sources for projects, accessed by tapping the Start button.

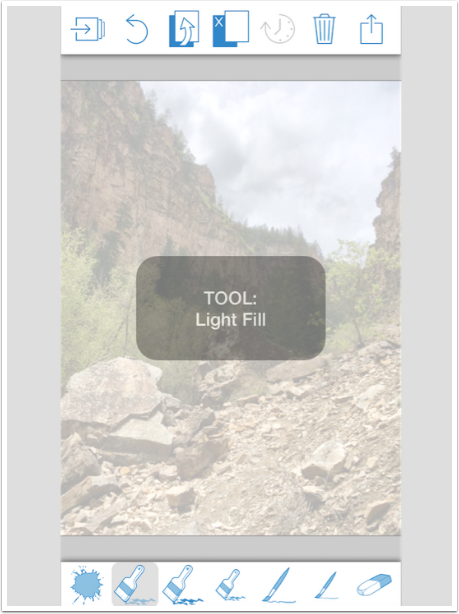
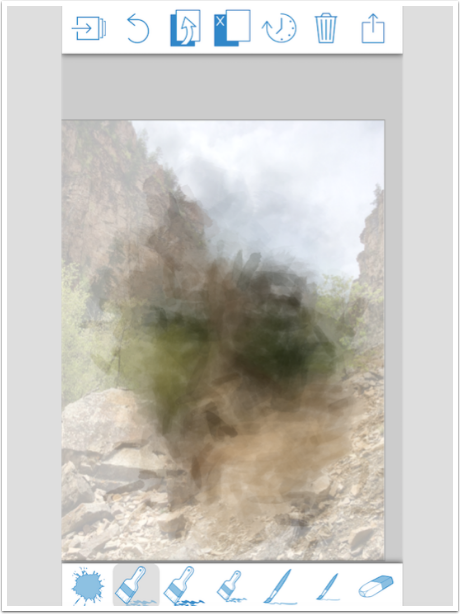
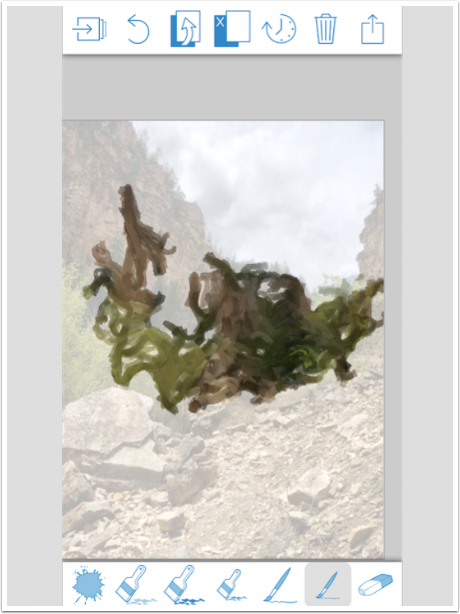
Once again, the partially transparent white canvas overlays the image, a Colorado mountain scene I took this year.
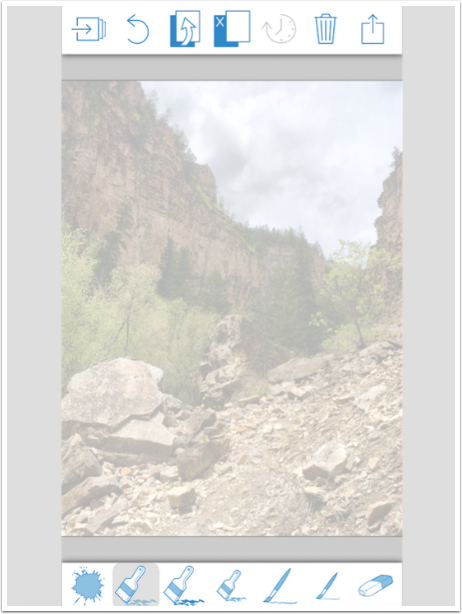
The presets along the bottom do not have labels. However, when you tap the buttons, a description appears over the image. From left to right, the brushes/presets are: Splat, Light Fill, Heavy Fill, Small Fill, Thick Lines, Thin Lines, and Erase.
Splat is much like Coarse.
Remember, you can zoom in and make the Splat preset do the work of a finer brush.
Below you can see where I zoomed way in and used the Splat preset.
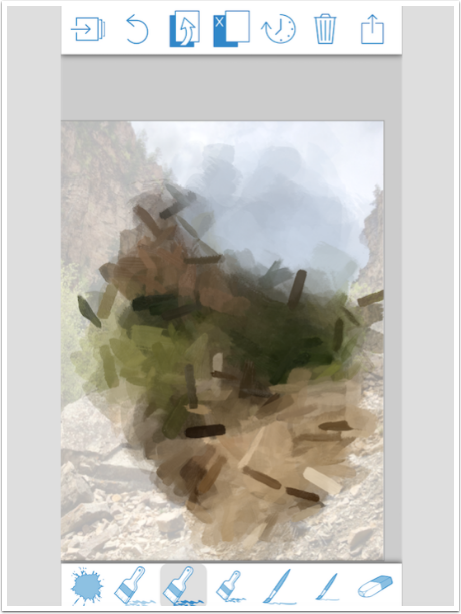
Next is the Light Fill.
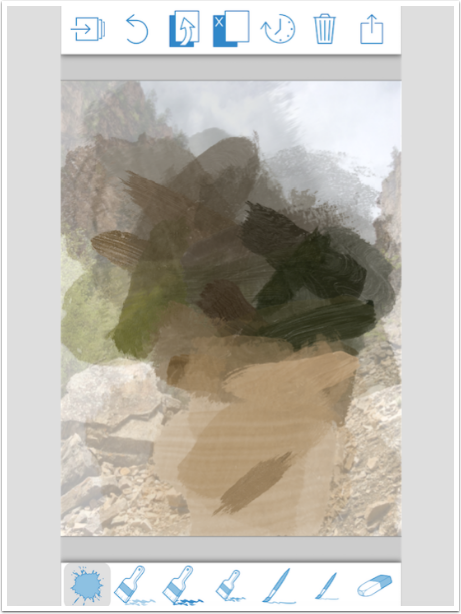
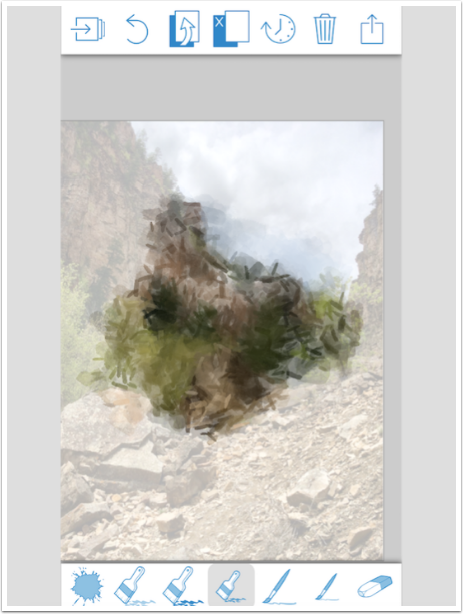
The Third preset is Heavy Fill.
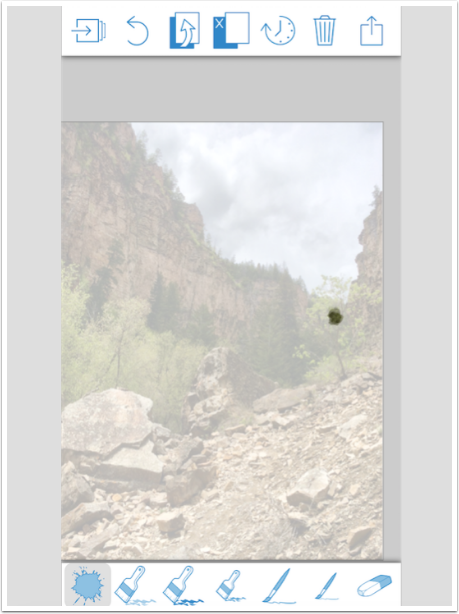
Small fill makes very fine strokes. If you zoom way in the strokes will get down to the pixel level.
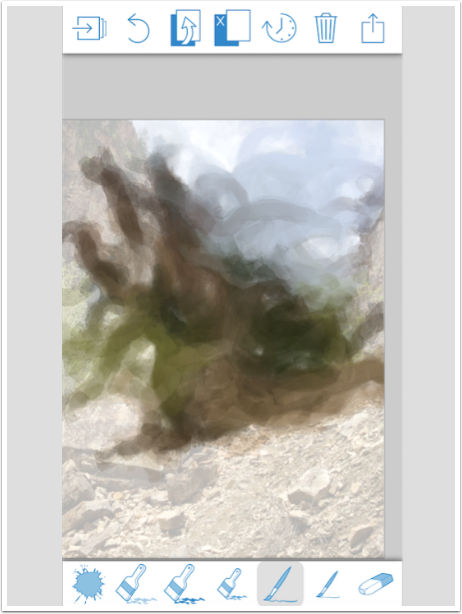
Next you can see Thick Lines.
The final preset is Thin Lines. There is no Smooth or Texture. Erase can be used for the Ripped Edge effect.
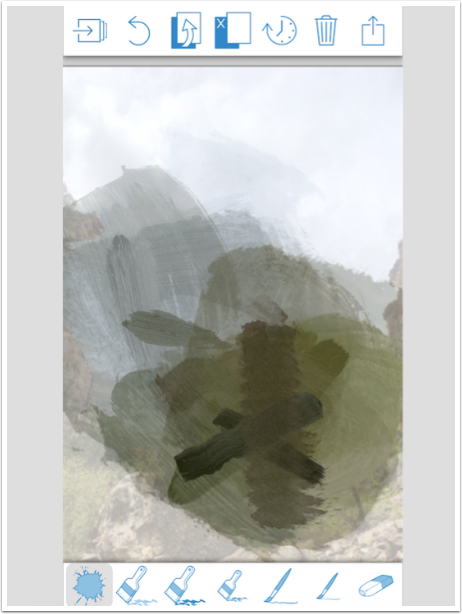
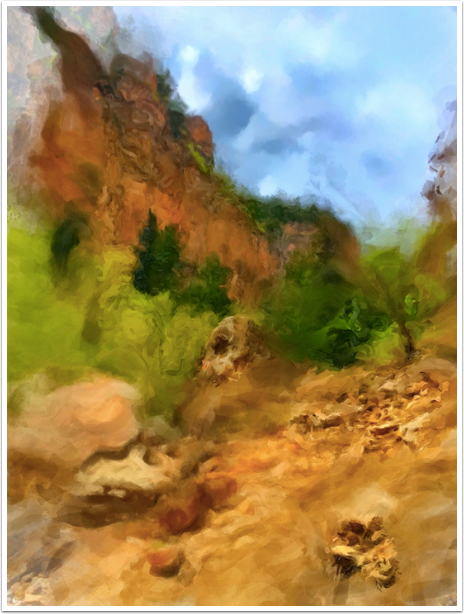
By zooming in and out, and deciding where I wanted a wash and where more details, I produced the following painting. (I punched it up with Tune Image and Detail in Snapseed.)
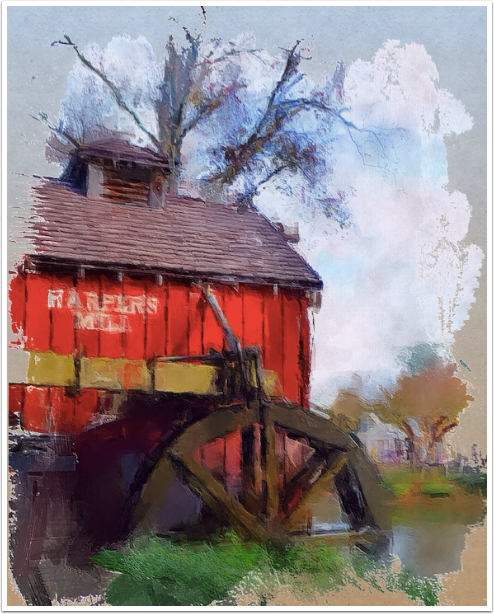
Of course, you can use PaintCan results within a string of apps. Below I started with the Harper’s Mill image out of last week’s Artoon tutorial. I did some work in PaintCan, then merged the PaintCan version back with the Artoon image in iColorama to return some detail. I finished it in iColorama with the Border tool and a Gradient canvas.
For those of us with no art or painting background, getting a little boost from a software-assisted printing app like PaintCan is nothing to be ashamed of. The user is still making artistic decisions, still deciding to add detail here and obscure it there, while not having to “draw a straight line”. PaintCan, in my opinion, is also easier and more intuitive to use than other apps in the “software-assisted painting” category of apps. And it’s free! Go out and get it, and, until next time, enjoy!
TheAppWhisperer has always had a dual mission: to promote the most talented mobile artists of the day and to support ambitious, inquisitive viewers the world over. As the years passTheAppWhisperer has gained readers and viewers and found new venues for that exchange.
All this work thrives with the support of our community.
Please consider making a donation to TheAppWhisperer as this New Year commences because your support helps protect our independence and it means we can keep delivering the promotion of mobile artists thats open for everyone around the world. Every contribution, however big or small, is so valuable for our future.
Jerry Jobe
Never content with just scratching the surface of what an app can do, Jerry Jobe decided to pass on what he learned about imaging apps to others. He’s constantly trying to figure out just what tools other artists have used, and trying to incorporate them into his own work, in an attempt to find his style. He’s written tutorials on over 145 apps so far, which you can find (along with his Song of the Day entries) at http://enthusiasmnoted.wordpress.com/ He lives near Atlanta, Georgia, where he also finds a creative outlet in acting and directing in community theater.
One Comment
Rab Butler
Very very good review you really know your stuff thanks